


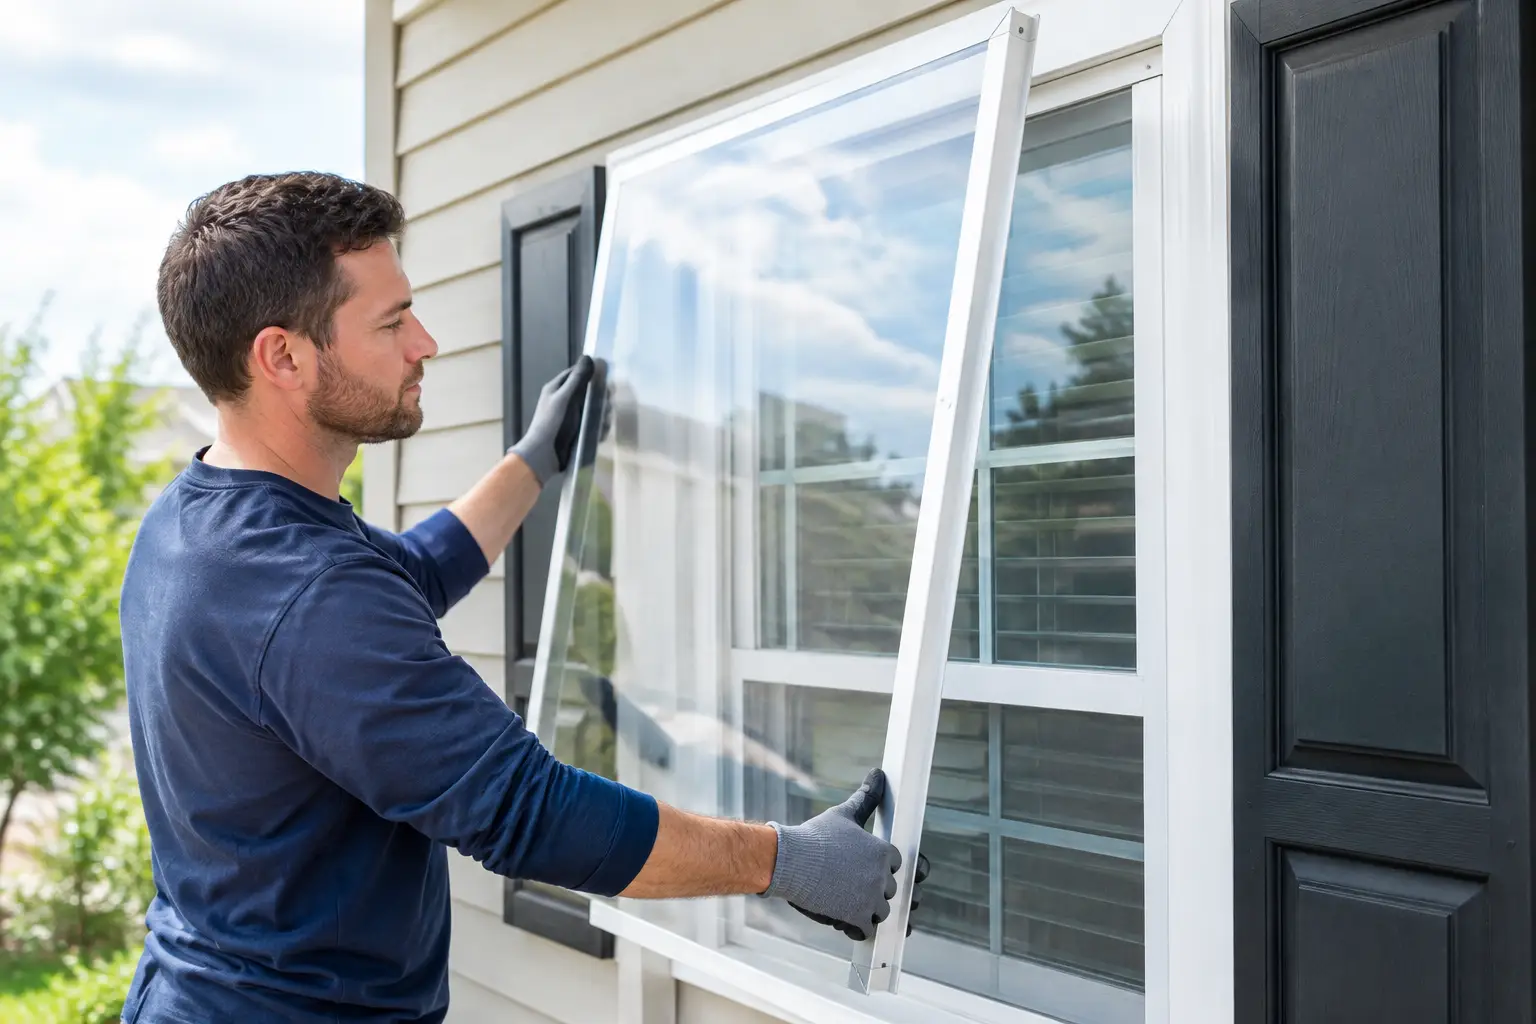
A removable storm panel is only as reliable as the hardware holding it in place. When high winds place pressure on a window, door, or opening, a panel with the wrong fastener, incorrect spacing, or poor overlap can fail before the panel material is ever tested. For Florida property owners preparing to install removable storm panels, the work starts with an approved system and a precise plan – not a last-minute run for plywood or generic bolts.
Removable panels can be a practical form of hurricane protection for homes, rental properties, storefronts, and other buildings across the Treasure Coast. They offer strong seasonal protection without permanently changing the appearance of the structure. However, they do require organized storage, timely preparation, and installation that follows the product approval and manufacturer specifications for the exact opening.
Choose the Right Panel System Before Installation
Removable storm panels are commonly made from corrugated aluminum, clear polycarbonate, or steel. Aluminum panels are a popular choice because they are lightweight, corrosion-resistant, and easier to handle than steel. Clear panels allow daylight into the home during a storm event, which can be valuable for select openings, though they may cost more and can show scratches over time.
The right choice depends on the building, the opening size, and the level of exposure. A coastal home with wide sliding glass doors may need a different approved configuration than a smaller inland residence with standard single windows. Panels must be rated and installed for the applicable wind zone, design pressure, and building conditions. Do not assume one panel type, track, or fastener pattern works everywhere on the property.
A qualified contractor can verify product approvals, measure each opening, and determine whether the surrounding wall construction can support the required attachment method. This matters especially on older homes, masonry walls, stucco finishes, wood framing, and openings that have been replaced or modified over time.
Measure Every Opening Individually
Panels are not interchangeable just because two windows look similar. Measure the width and height of each protected opening carefully, including the required overlap beyond the window or door frame. The panel system’s instructions will specify how much coverage and overlap are needed.
For each opening, document the location, dimensions, panel quantity, hardware type, and installation order. A simple labeling system saves time when a storm is approaching. Many owners mark the back of every panel and keep a matching diagram inside a utility closet, garage, or storage room. Labels such as “Front Bedroom Left” or “Rear Slider Panel 3 of 5” are far more useful than trying to identify panels by sight in poor weather.
Also identify obstructions before installation day. Exterior lights, hose reels, downspouts, decorative trim, security cameras, and landscaping can interfere with panel placement or access to fasteners. Addressing these details in advance prevents rushed adjustments when your property should already be secured.
Install Approved Anchors and Tracks With Precision
The attachment method is the most critical part of a removable panel system. Depending on the approved design, panels may attach with permanently installed bolts, threaded anchors, wing nuts, tracks, or other rated hardware. The hardware must match the panel system, wall material, and approved installation details.
Fasteners must be installed at the prescribed spacing and depth. Too few attachment points, oversized holes, loose anchors, or hardware installed into unsuitable material can compromise the system. Fasteners also need to be corrosion-resistant for Florida’s humid, salt-air environment. Mixing metals without considering corrosion can create problems over time, particularly near the coast.
For masonry construction, anchors must be positioned in sound concrete block or concrete, not merely into weak mortar joints or deteriorated finishes. For framed construction, attachment points must reach appropriate structural framing as required by the approved system. Drilling through stucco without proper sealing can also create pathways for water intrusion, which is one reason experienced installation matters.
After the anchors or tracks are installed, inspect the wall surface and hardware closely. The panels should sit flat where intended, maintain the required overlap, and fasten securely without excessive movement. A panel should not bow, rattle, or depend on a single fastener to stay aligned.
Follow the Panel Sequence
Multi-panel openings often have a specific sequence. One panel may overlap the next, or panels may need to slide into a header track before the bottom edge is secured. Install them in the order shown by the manufacturer so water is directed outward and wind pressure is distributed as designed.
This is particularly important around large windows, doors, and patio openings. If panels are reversed or overlaps face the wrong direction, wind-driven rain can reach vulnerable areas and the system may not perform as intended. Keep the manufacturer’s instructions with your panel map so the correct sequence is always available.
Practice Before Hurricane Season
The first time you install removable storm panels should not be when a storm watch is issued. Schedule a dry run well before hurricane season, preferably on a clear day with adequate time and help available. This gives you an opportunity to confirm that every panel is present, every fastener threads properly, and ladders or access equipment can be used safely.
During the practice installation, look for damaged hardware, stripped threads, bent panel edges, missing wing nuts, and labels that are hard to read. Replace worn parts with compatible approved hardware rather than substituting an item from a general hardware assortment. Small differences in bolt diameter, thread type, washer size, or material can affect fit and performance.
A practice run also reveals how long the job takes. Larger properties may require more than one person, especially where panels must be installed on upper-story openings or across broad glass areas. Property managers should create a clear responsibility plan for who will deploy the panels and when, rather than relying on tenants or staff to figure it out under pressure.
Install Panels Safely When a Storm Threatens
Watch the forecast and complete panel installation early. Do not wait until winds are rising, rain is beginning, or local conditions become unsafe. Working from a ladder with large metal panels in gusty weather creates an unnecessary fall and injury risk.
Wear work gloves to protect against sharp panel edges and use eye protection when handling hardware or working near drilled openings. Keep children and pets away from the work area. If you need a ladder, place it on firm, level ground and have another adult assist with stabilizing and handing up panels. Never carry a broad panel up a ladder in windy conditions.
Before moving to the next opening, check that every required fastener is installed and tightened according to the system instructions. Over-tightening can damage threads, distort the panel, or crack surrounding finishes, while under-tightening can leave the panel vulnerable to vibration. The goal is secure, even contact – not force.
After all panels are in place, walk the property perimeter. Confirm that garage side doors, entry doors, utility-room openings, and less-visible windows have not been overlooked. Storm preparation often focuses on front-facing glass, but any unprotected opening can become a point of failure.
Store and Maintain Panels for the Next Season
Once the storm season has passed, remove panels carefully and inspect them before storage. Wash away salt residue, dirt, and debris with mild soap and water, then allow the panels to dry fully. Storing damp panels can encourage staining, corrosion around hardware, and damage to labels.
Keep panels off the ground in a dry, covered location where they will not bend or become buried behind heavy items. Store matching hardware in labeled containers and retain a few manufacturer-approved replacement pieces. Do not stack sharp-edged panels directly against finished walls, vehicles, or glass.
Annual maintenance should include checking anchors, threads, tracks, seals, and the condition of the panels themselves. If your home has been repainted, resurfaced, renovated, or had windows replaced, have the storm protection system reviewed. Changes around an opening can affect clearance, attachment, and the ability to install panels correctly.
When Professional Installation Is the Better Choice
Some homeowners are comfortable handling simple, ground-level panels after a professional system has been installed and demonstrated. Others benefit from a complete installation and seasonal preparation plan. Professional support is especially worthwhile for second-story openings, large spans, complex masonry, commercial properties, and homes with mixed protection systems.
Jensen Beach Aluminum & Windows helps property owners select and install premium storm protection designed for Florida conditions. Skilled professionals can evaluate the property, confirm the right protection approach, and provide the precision installation that gives removable panels their value when severe weather arrives.
Your storm protection plan should feel organized long before the forecast turns serious. With correctly specified panels, dependable anchors, clear labeling, and routine practice, preparing your property becomes a controlled task rather than a race against the weather.