


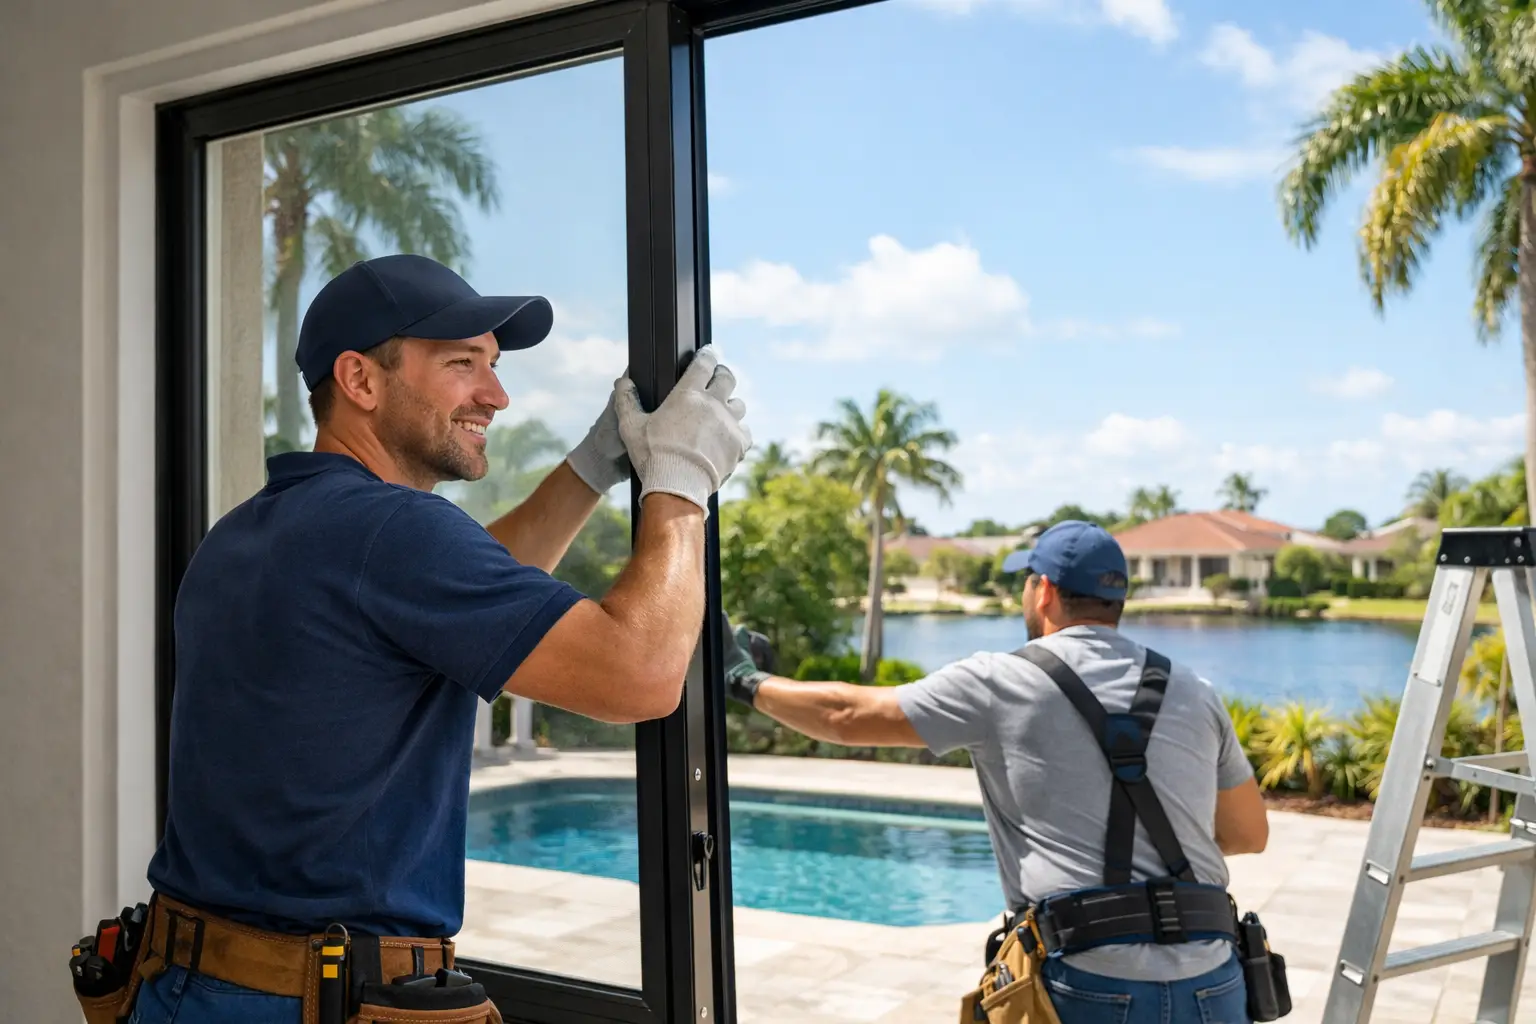
A residential window installation example is most useful when it shows what happens beyond selecting a new window. For Florida homeowners, a replacement project has to address the exact opening, wind exposure, water management, permitting requirements, interior finishes, and the condition of the surrounding wall. The window itself matters, but precision installation is what helps it perform as intended for years.
Consider a common Treasure Coast project: a homeowner has original single-hung aluminum windows that are difficult to operate, allow noticeable heat into the home, and show corrosion around the frames. The goal is to replace them with impact-rated windows that improve storm readiness, comfort, and appearance without creating unnecessary disruption inside the home.
Residential Window Installation Example: From Quote to Completion
This example follows a typical whole-home replacement project for a concrete-block Florida home. The property has 12 window openings, including single windows, paired units, and a larger living-room opening. Some windows face the coast, where wind-driven rain and salt air deserve additional attention.
The homeowner begins with an on-site consultation, not a phone estimate based only on rough dimensions. A skilled professional measures each opening, identifies the existing frame type, checks for visible deterioration, and discusses how the home is used. A street-facing bedroom may call for a different operating style than a bathroom or a living room that benefits from a wider view and more daylight.
The written proposal should identify the selected window series, frame color, glass options, operating configuration, installation scope, and any expected masonry or trim work. It should also make clear whether the windows are impact-rated and whether they are being installed to satisfy the requirements applicable to that property. In coastal Florida, the correct product is determined by the opening size, building construction, location, and current local requirements – not by a one-size-fits-all recommendation.
Step 1: Field Verification and Permitting
After the homeowner approves the proposal, the contractor completes final field measurements before ordering. This is a critical stage. Old window openings are rarely perfectly square, especially in homes that have settled or received prior repairs. Final measurements account for the actual width, height, depth, sill condition, and space needed to properly secure and seal the new frame.
The installation team also confirms the product approval information, fastening method, and permit needs. Permit processes vary by municipality and project type, so an experienced local contractor plans for the requirements before installation day. Ordering windows before verifying these details can create delays or result in a product that is not appropriate for the opening.
For this example, the homeowner chooses impact-rated, low-E insulated glass windows with durable aluminum frames. The impact glass offers storm protection at the window opening, while the low-E coating helps reduce solar heat gain. That does not mean every room will feel identical afterward. Sun direction, roof insulation, shading, HVAC performance, and door glass all affect indoor comfort. Still, quality replacement windows can make a meaningful difference in rooms that have been exposed to direct afternoon sun or leaking old frames.
Step 2: Protecting the Home Before Removal
On installation day, the crew begins by protecting floors, furniture, and nearby landscaping. Window replacement is construction work, and a professional team treats the home accordingly. Interior work areas are covered, exterior paths are kept clear, and residents are informed about which rooms will be accessed and when.
The crew removes one opening at a time whenever possible. This limits the amount of time the home is exposed to weather and helps keep the project organized. Old sashes, glass, fasteners, and frame components are removed carefully, particularly when working around stucco finishes, drywall returns, tile, or interior trim that the homeowner plans to keep.
Once the old unit comes out, the crew inspects the rough opening. This is where hidden issues sometimes appear. Minor sealant failure or loose fasteners may be corrected as part of the installation. More serious problems, such as deteriorated wood framing, cracked masonry, or evidence of long-term water intrusion, may require added repairs before the new window can be installed properly.
A reliable contractor does not cover a damaged opening and hope for the best. The homeowner should be shown the condition, told what repair is needed, and given a clear explanation of how it affects cost and schedule. This is one reason a precise quote includes allowances and explains what is and is not visible before removal.
Step 3: Setting, Fastening, and Sealing the New Window
With the opening prepared, the installer dry-fits the new window and verifies that it is level, plumb, square, and operating correctly. Small adjustments at this stage matter. A window that is forced into an uneven opening may bind, fail to lock smoothly, or place unnecessary stress on the glass and frame.
The crew then anchors the window according to the approved installation details for that specific product and wall condition. Fasteners, spacing, edge distances, and substrate all matter, particularly for impact-rated windows. The purpose is not simply to hold the frame in place. The installation must transfer loads appropriately while preserving the performance expected from the tested window system.
Next comes the water and air seal. In Florida, this work deserves the same attention as the glass and hardware. The perimeter is properly sealed using compatible materials, with special care at the sill, jambs, and head. Exterior sealant must create a durable weather barrier without blocking intended drainage paths. Too little sealant can invite water intrusion; careless over-sealing can interfere with the way a window is designed to manage incidental moisture.
For the living-room opening in this example, the installers also repair limited stucco disturbance around the perimeter and apply a clean finish that matches the surrounding exterior as closely as practical. Exact color matches can vary with age, sun exposure, and prior paint, but the objective is a finished appearance that looks intentional rather than patched together.
Why Coastal Conditions Change the Installation Standard
Florida’s heat, humidity, driving rain, and salt-laden air place steady demands on exterior openings. A window that appears fine at installation can develop problems later if the frame, fasteners, sealant, or surrounding finishes are not suited to the environment.
That is why material quality and installation experience belong in the same conversation. Premium windows can only perform to their potential when they are correctly measured, securely anchored, and carefully sealed. Likewise, even a well-installed window may not solve every comfort or moisture concern if the home has aging doors, roof leaks, failing stucco, or inadequate insulation.
For homes near the water, homeowners should also ask how exterior components will be maintained. Aluminum frames and hardware benefit from routine cleaning to remove salt and debris. Tracks should be kept clear, weep areas should not be obstructed, and sealant should be inspected periodically for cracking or separation. These simple habits support the service life of the installation.
Step 4: Operation Checks, Cleanup, and Inspection
Before the crew leaves, every installed window is opened, closed, locked, and visually reviewed. Screens, hardware, glass, and interior finishes are checked, and the crew removes job-related debris. The homeowner receives guidance on operating the windows, cleaning the glass, and caring for tracks and hardware.
If the project requires an inspection, the contractor coordinates the final stage and addresses any items requested by the local authority. This is more than paperwork. Inspections provide an additional checkpoint that the work follows the approved project requirements.
At Jensen Beach Aluminum & Windows, the goal is not to rush through openings and call the job finished. Homeowners need confidence that the people working on their property understand coastal construction, respect the home, and remain available after installation.
What This Example Means for Your Own Home
Your project may be simpler or more complex than this example. Replacing one bathroom window in a newer home is different from updating every opening in an older coastal property. Existing frame condition, impact protection needs, preferred glass, access challenges, and finish repairs all influence the final scope.
The most productive first step is a professional evaluation of the actual openings. Bring up any sticking windows, water stains, noise concerns, fading furnishings, or upcoming exterior renovations during the consultation. Those details help shape a solution that protects the home and fits the way you live in it.
A window replacement should leave you with more than a better view. It should give you dependable operation, a cleaner exterior finish, greater confidence during storm season, and a home that feels better protected every day.